Local Chimney
Sweep Cleaning in
California City
Monthly Special $89 Only
-
Safety Inspection
-
Cleaning & Repair
-
20 Years of Experience
-
Licensed & Insured
-
Same Day Service
-
Affordable Sweeping
Local Chimney Sweep Cleaning
Why Choose Us?
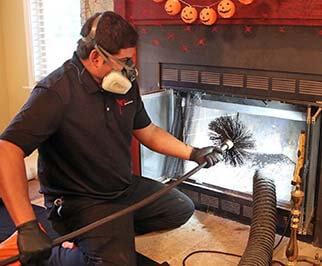
Local Chimney Sweep Cleaning technicians are trained and certified chimney sweeps through the Chimney Safety Institute of America and are Fire Certified Inspectors for your fireplace inspections.
We provide Top Quality Chimney Sweeping, Cleaning and Repair services in Los Angeles County, Ventura County, Orange County, San Jose and San Francisco. Our technicians are well informed about all the new Advanced Equipment and knowledgeable with all the safety measures so they can better service you.
We bring
Experience & Expertise
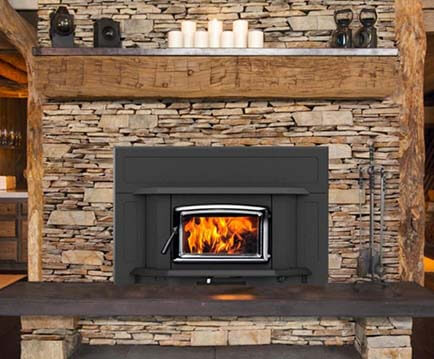
Local Chimney Sweep Cleaning has 20 Years of Experience. Locally-owned and operated business that has proudly delivered quality chimney in California.
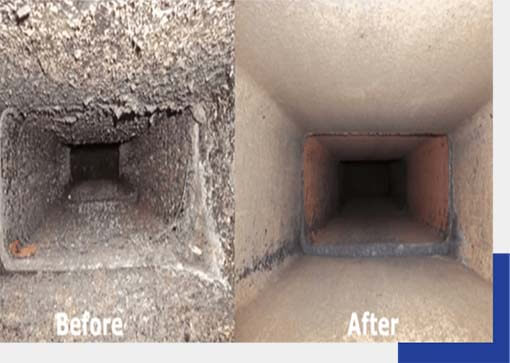
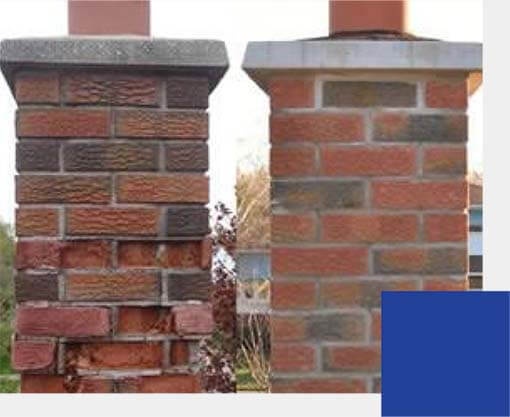
We are expert in Cleaning and Chimney Restoration. Find out more about our quality service and craftmanship for your Chimney Sweep and Repairs Need. Expect nothing but 100% Satisfaction!

We offer
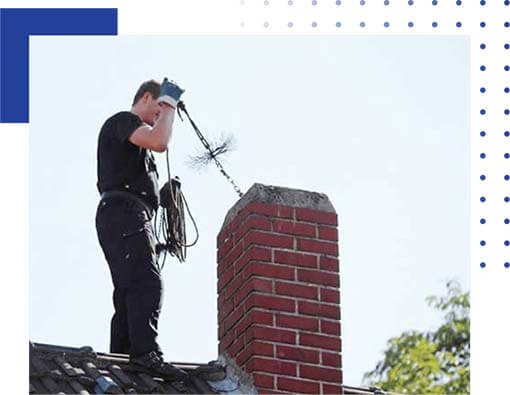
Free Safety Inspection
We will make sure to provide upfront quote without hidden charges right after the Safety Measures and Inspection. It is a Concise Inspection Report which will make you satisfied and happy.
All issues, concerns are covered on that report plus the Strategy Plan and Recommended Resolution to fix all your Chimney Problems!
We are
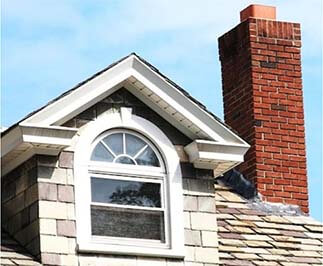
Local Chimney Repair
You can count on the experts at Local Chimney Sweep Cleaning. For over 20 years, homeowners have trusted Local Chimney Sweep Cleaning with the repair of their chimneys. Your chimney is a vital part of your property, and you should not entrust repair work to just any chimney services.
We provide same day service. Book Your Safety Inspection and Cleaning Now!
Licensed & Insured
Connect with us Today
Book Your Chimney Sweep Cleaning and Repair Services Now!
Connect with us Today
Local Chimney Sweep Cleaning technicians are trained and certified chimney sweeps through the Chimney Safety Institute of America and are Fire Certified Inspectors for your fireplace inspections.
© Local Chimney Sweep Cleaning All Rights Reserved 2020